A Brush with Beauty: The Comprehensive Guide to Home Painting
A fresh coat of paint can breathe new life into your home. It’s a transformative experience, boosting curb appeal for exteriors and creating a vibrant, inviting atmosphere inside. But before you grab a roller and dive in, understanding the process is key. This guide will equip you with the knowledge and confidence to tackle your home painting Doha Qatar project, be it a DIY adventure or a collaboration with professional painters.
Deciding to DIY or Hire Professionals
When you’re confronted with a home improvement project, it’s important to carefully weigh your options before making a decision. One of the first decisions to consider is whether you should take on the project yourself or seek the assistance of a professional team. To help you make an informed choice, I’ve outlined the advantages and disadvantages of both options below:
Define Your Goals and Choose Colors:
What are you hoping to achieve? Refreshing a single room, revamping the entire house, or boosting curb appeal?
Consider the mood you want to create. Light colors make rooms feel larger, while bold hues create drama.
Research color palettes and experiment with paint samples. Consider lighting and how colors interact in your space.
Prep Work is Paramount:
Interior: Remove furniture, cover floors and fixtures with drop cloths. Patch holes, cracks, and uneven surfaces. Sand existing paint for better adhesion.
Exterior: Power wash surfaces to remove dirt, mildew, and loose paint. Scrape peeling paint and caulk gaps around windows and doors.
Selecting the Right Paint:
Interior: Opt for water-based latex paints for easy cleanup and low odor. Choose specific finishes based on the room’s function. Flat finishes hide imperfections in high-traffic areas, while satin or semi-gloss offer durability for kitchens and bathrooms.
Exterior: Use weather-resistant acrylic or alkyd paints. Consider factors like climate, sun exposure, and desired finish.
Gather Necessary Tools and Supplies:
Brushes: Variety of sizes for trim, corners, and flat surfaces.
Rollers: Choose the right nap size for the surface texture.
Drop cloths & painter’s tape: Protect surfaces from splatters.
Safety gear: Dust mask, safety glasses, gloves when using harsh chemicals.
Ladders and scaffolding (if required): Ensure proper safety measures when working at heights.
Interior Painting
Start with the ceiling, then move on to upper walls, trim, and lastly, baseboards.
Use a brush for detailed areas like trim and corners.
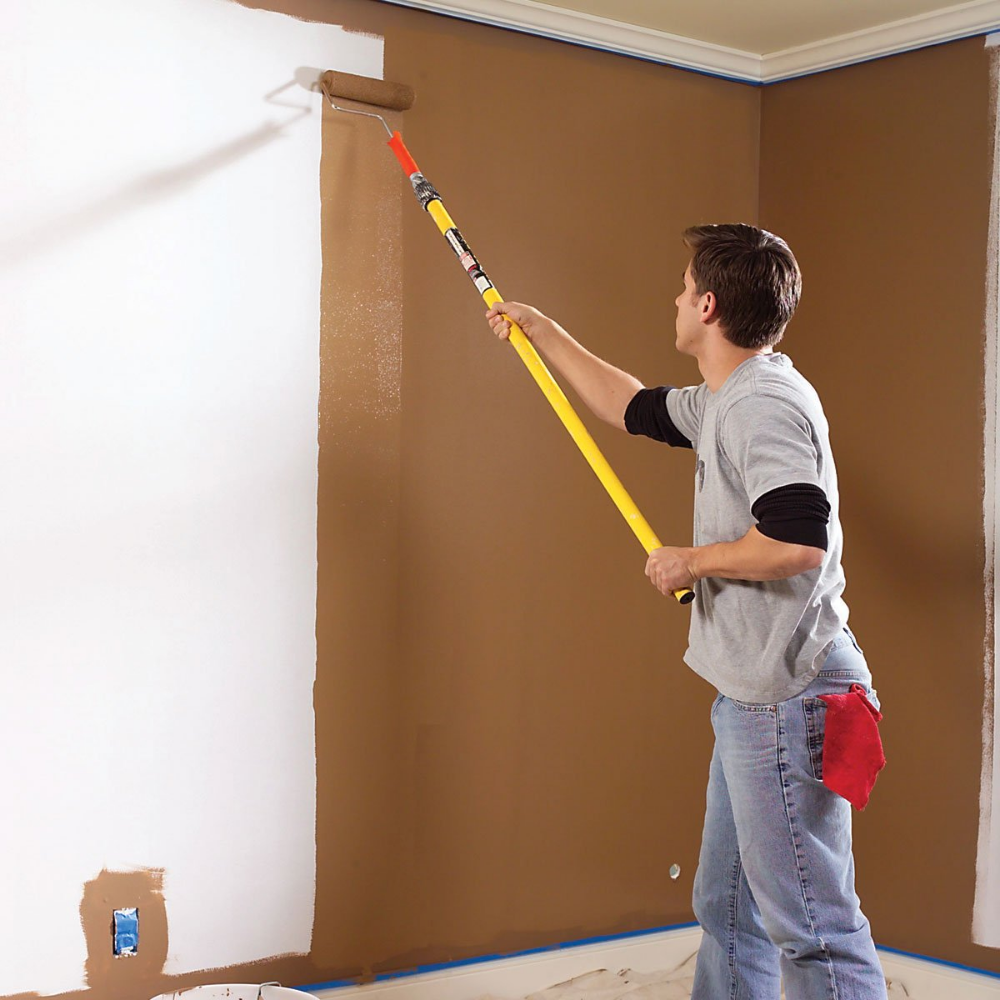
For walls, employ smooth, even strokes with the roller, applying light pressure. Overlap sections to avoid streaks.
Apply multiple thin coats for optimal coverage and a professional finish.
Exterior Painting
Follow a similar approach, starting from top to bottom.
Pay close attention to areas exposed to harsh weather, like eaves and soffits.
Use a brush for intricate details around windows, doors, and trim.
For larger areas, use a paint sprayer for efficiency, following safety precautions and manufacturer’s instructions.
Pro Tips for a Flawless Finish:
Maintain a clean work area as you go.
Regularly clean brushes and rollers to prevent paint build-up.
Work in sections to avoid paint drying unevenly.
Allow proper drying time between coats as per paint instructions.
Pay attention to weather conditions for exterior painting. Avoid extreme heat, cold, or humidity.


